Magnecko – The Magnetic Climbing Robot
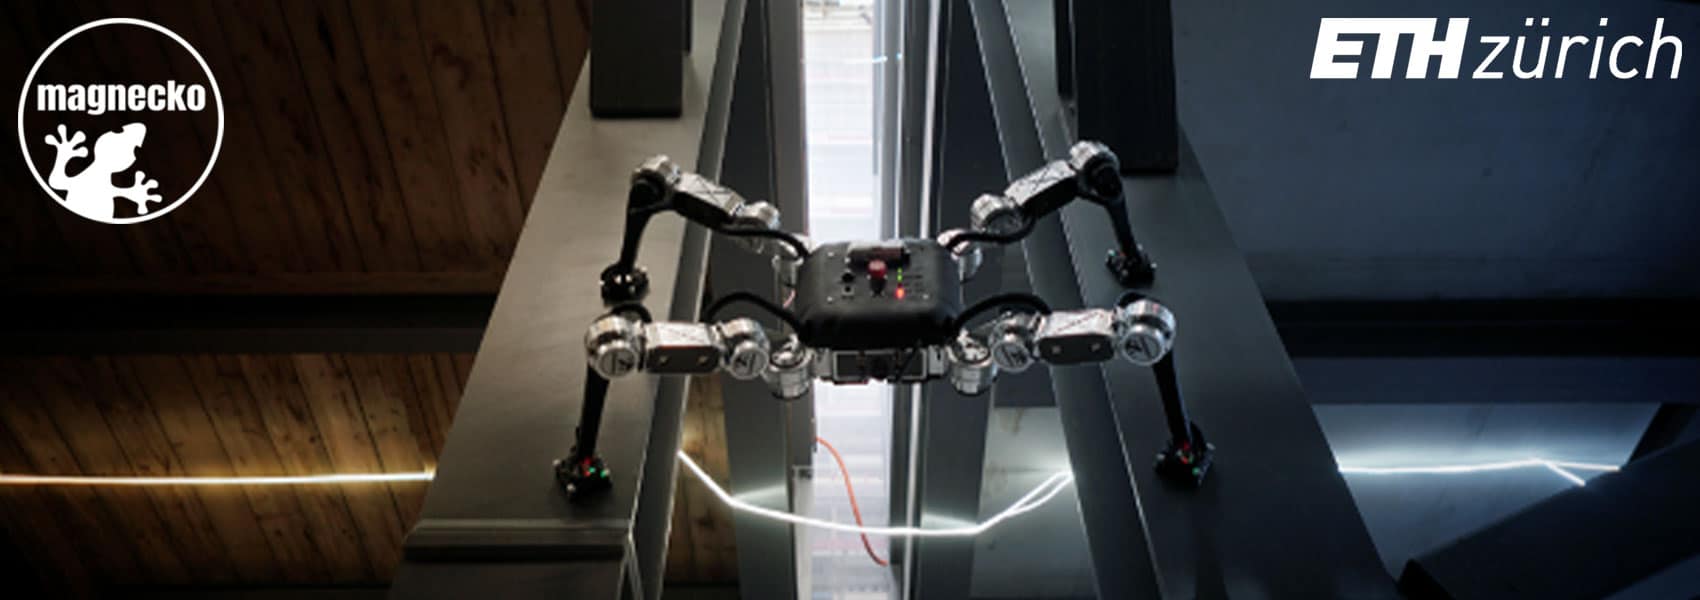
Magnecko is a team of two electrical engineering students and six mechanical engineering students in the final year of their Bachelor studies at ETH Zurich, all working together to achieve our goal of building a magnetic climbing robot. Our vision is to build a four-legged robot with magnetic feet, capable of doing inspection work on steel-made constructions in the industrial environment. Currently, the only inspection robots that can access heights in these environments are drones, which is why tasks that are high up and require high precision still need to be carried out by humans. However, most of these structures are often difficult and dangerous to climb for human workers. A climbing robot has the capabilities to complete these tasks unsuitable for drones. Therefore, to make inspection safer and more efficient, we designed, built, and tested Magnecko in a timespan of nine months. With the help of Eurocircuits, we could perfect the PCBs for our robot by going through multiple iterations!
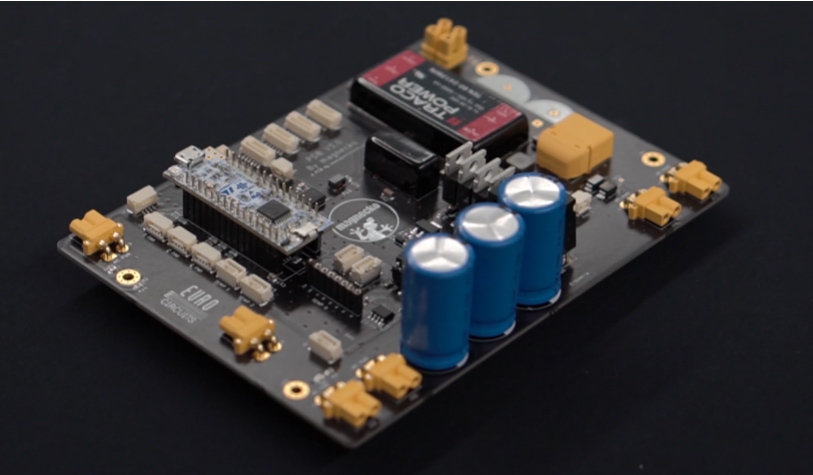
Main PCB
To distribute the power and control the current to the motors electrically, we decided to design our own PCB which is located inside of the body.
To handle the inrush current due to the large capacitive load of our motor controllers, we designed a power switch. This power switch, on the lower side of the PCB, can precharge the capacitors and control the power to the motors. During the startup sequence, the capacitors get precharged over a resistor such that the current can be limited. As soon as the capacitors are charged, the load gets connected directly to the power source without any resistors in between.
Next to the power switch, we included a DC/DC converter directly onto the PCB, which is connected to our main computing unit, the Intel NUC that requires a different voltage.
However, the PCB is not only responsible for power distribution but also includes a microcontroller unit. It is responsible for communication with all the different sensors and controls the power switch.
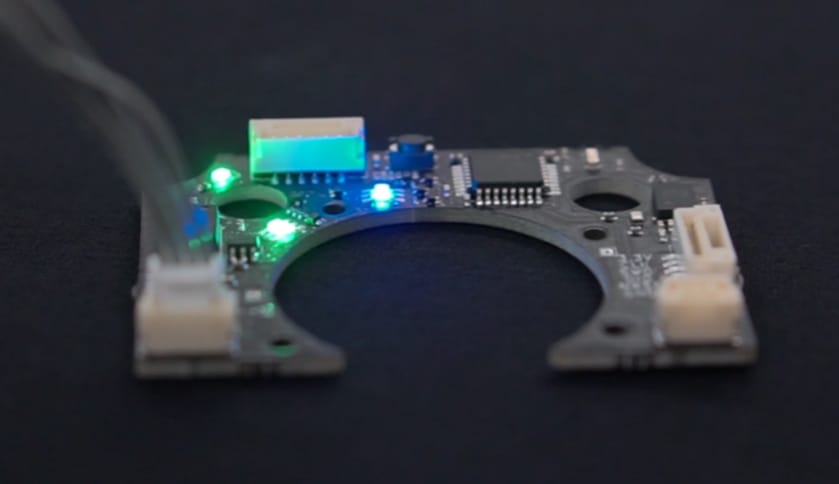
UI PCB
The microcontroller also controls the UI Panel with the help of a simple, second PCB, that connects all the LEDs and different buttons on the top of the robot.

Foot PCB
The last boards that we manufactured at Eurocircuits were the Foot PCBs. Each of these four PCBs has to fit on a foot, so they have to be extremely small and use tiny components. The Foot PCBs are very crucial for the whole system as they can control our magnets. Also integrated into this small PCB is a small microcontroller and an IMU. Two RGB LEDs show the state of the magnets and the acceleration of the foot, measured with the IMU.
![]()
For more information please visit the Magnecko website.
Be the first to read all about our news and information. Follow us on