Ingegno Maker Space: Creativity Unleashed!
LED-up KidZ v03 is here!
At De Creatieve STEM (DCS), we are delighted to announce that thanks to the support of Eurocircuits (www.eurocircuits.com), we have completed the development of the long-awaited LED-up KidZ jewel version 3. Additionally, we are proud to present the prototypes of our new Christmas soldering kits: the Christmas tree and Christmas bal. We could not have achieved these milestones without the help of our partners and volunteers.
About DCS
DCS supports makers, thinkers, and doers through various workshops, STEM academies, makers’ clubs, kids’ camps, and intensive training for both young people and adults. In the Ingegno Maker Space, creatives can experiment with a wide range of machines during open labs, making DCS a real playground for CAD (computer-aided design) and CAM (computer-aided manufacturing).
A key part of our mission is to motivate young people to learn independently so they can contribute to the knowledge economy of tomorrow.
Why Electronics?
Electronics hold a special place in our offerings because technology plays a crucial role in our daily lives. Though we are not always aware of it, countless devices make our lives easier and more enjoyable. Our goal is to introduce both young and old to this fascinating world in an engaging way. By providing practical experience with professional hardware, we give children a realistic insight into technological systems and inspire them as designers. We also connect them with experts in the field.
Soldering Kits: A Practical Approach
To achieve our goals, we use ad hoc developed (soldering) kits, whether programmable or not. In collaboration with Ingegno BV and expert volunteers, we share our knowledge through various activities and networks, especially through MaakBib (maakbib.be).
What’s New?
Thanks to the enthusiastic help of our loyal expert volunteer Herman, the long-awaited second version of LED-up KidZ is ready!
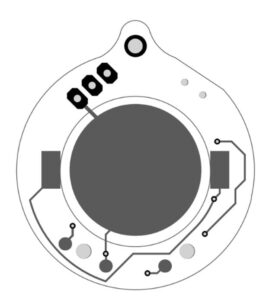
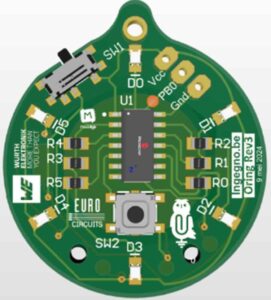
 Rendering of the LED jewel
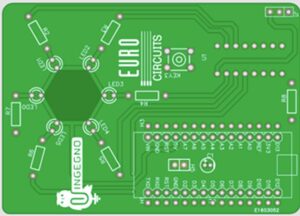 programmer/tester
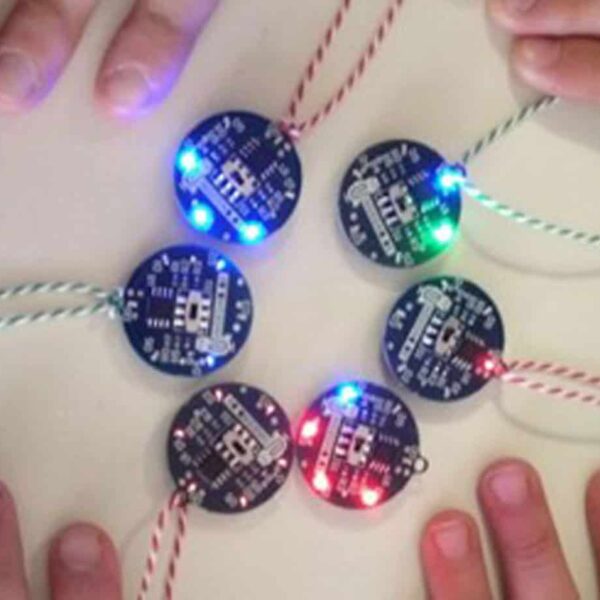
LED-up KidZ v03 is a micro-SMD soldering kit with 6 LEDs, a push button, and a sensor connection, powered by an ATTINY414-SSU microcontroller, programmable with the Arduino IDE.
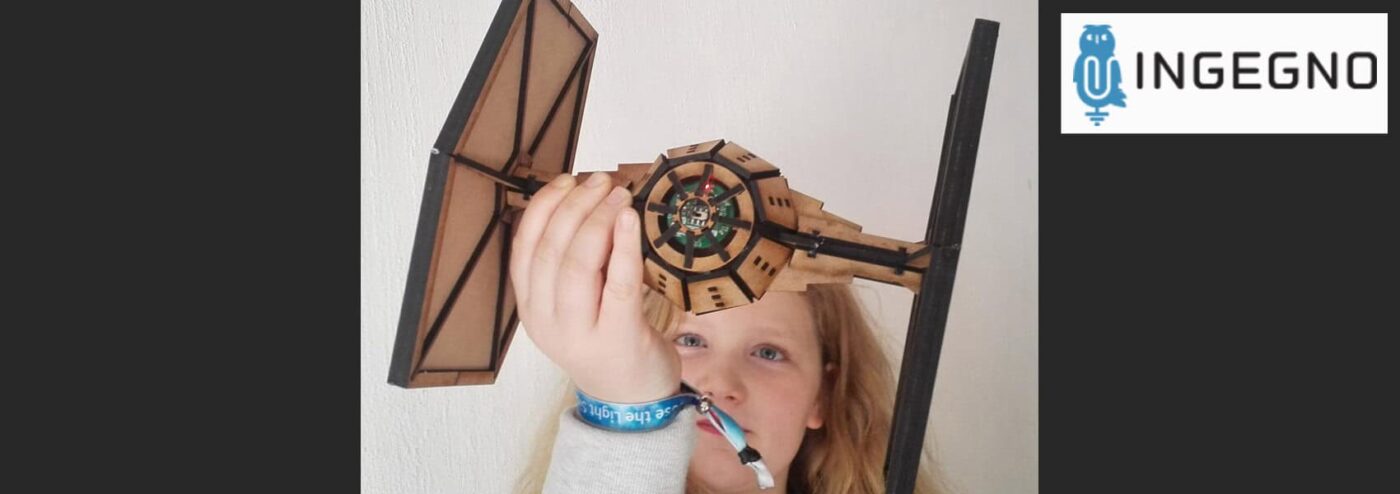
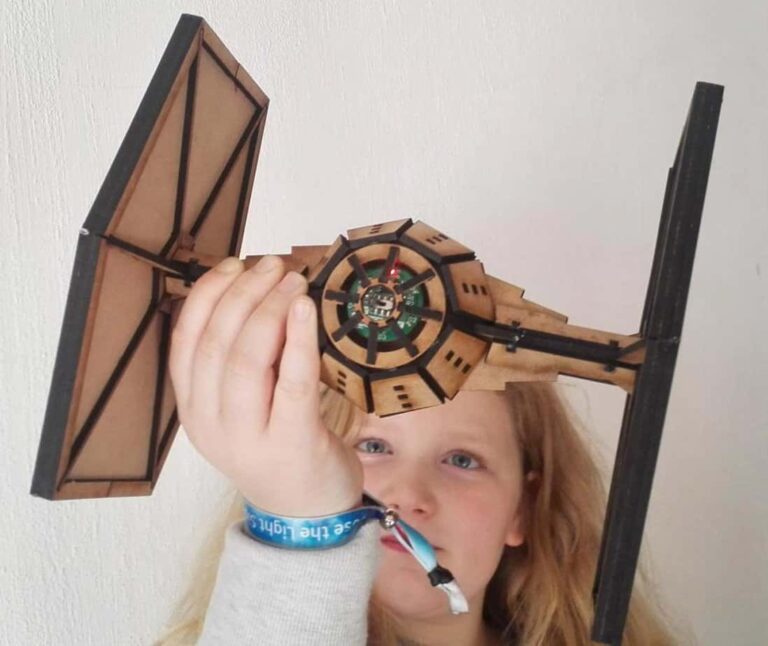
The concept of LED-up KidZ is intended to introduce young and old to the world of microelectronics: hardware and software. The focus is on several core elements: printed circuit boards (PCBs), SMD components, SMD soldering techniques with a reflow oven, microchip programming, and (creative) design of objects integrating electronics.
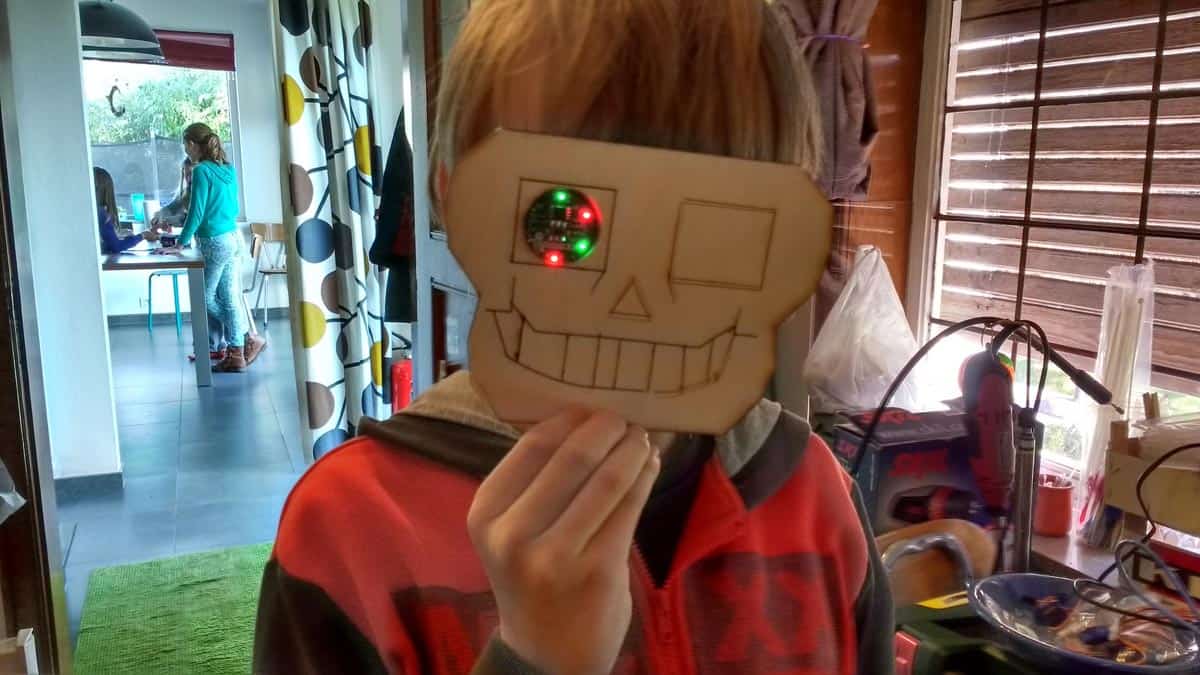
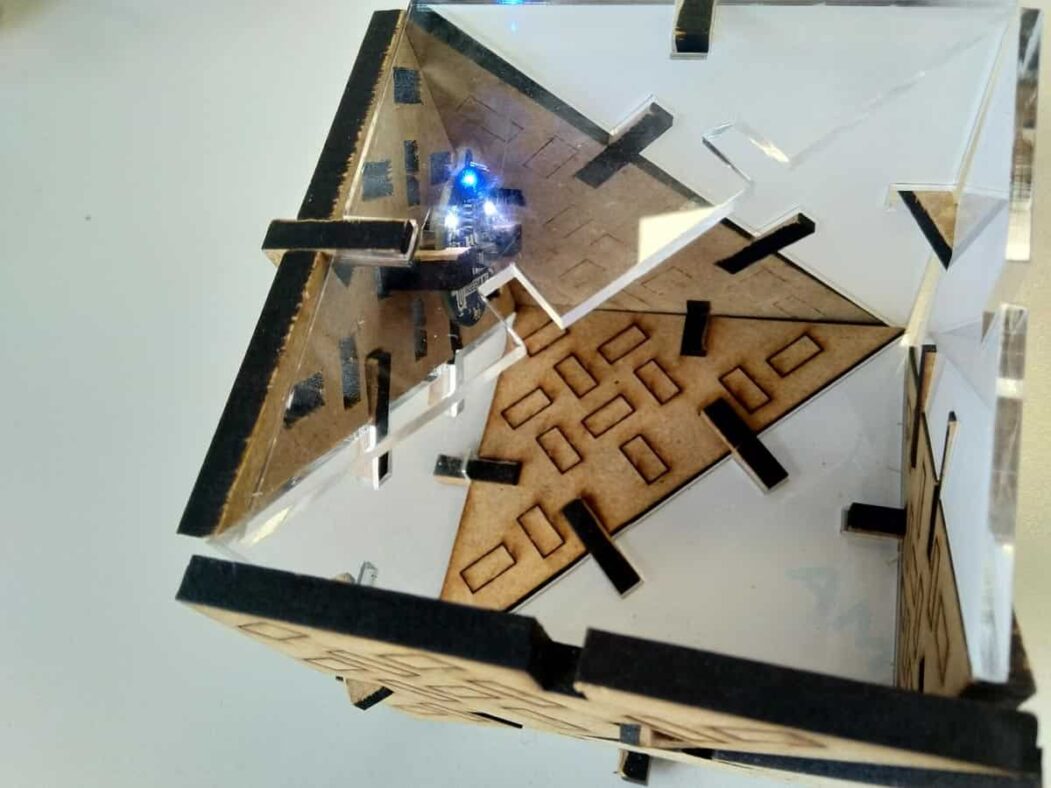
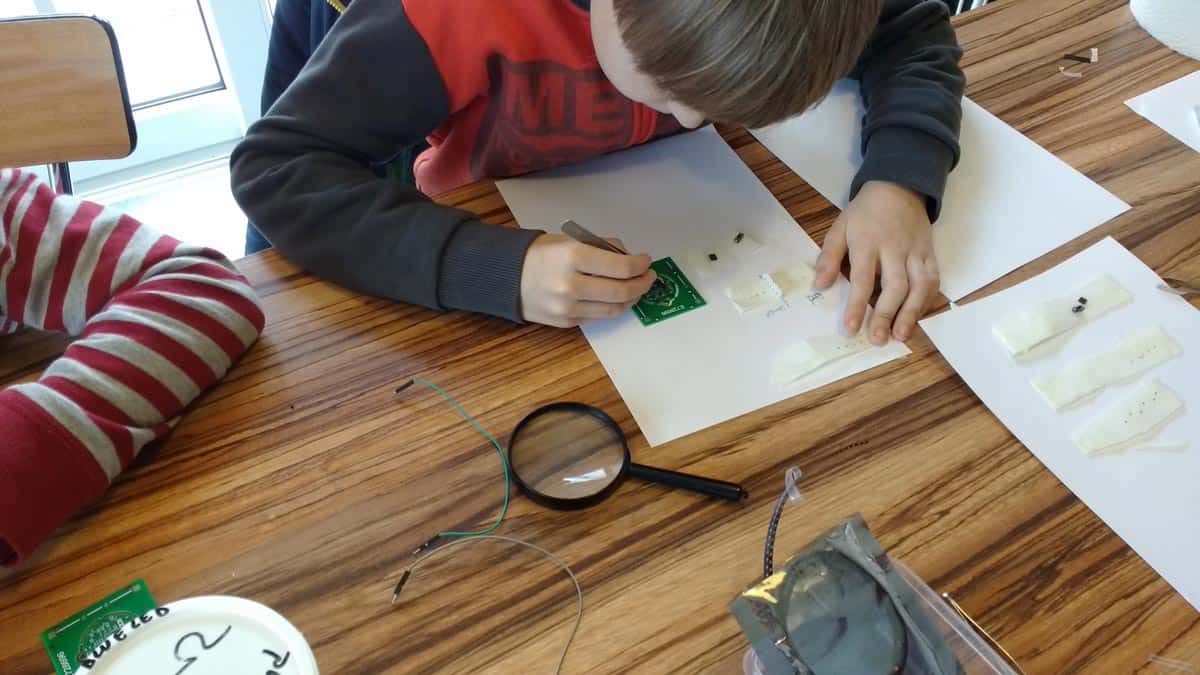
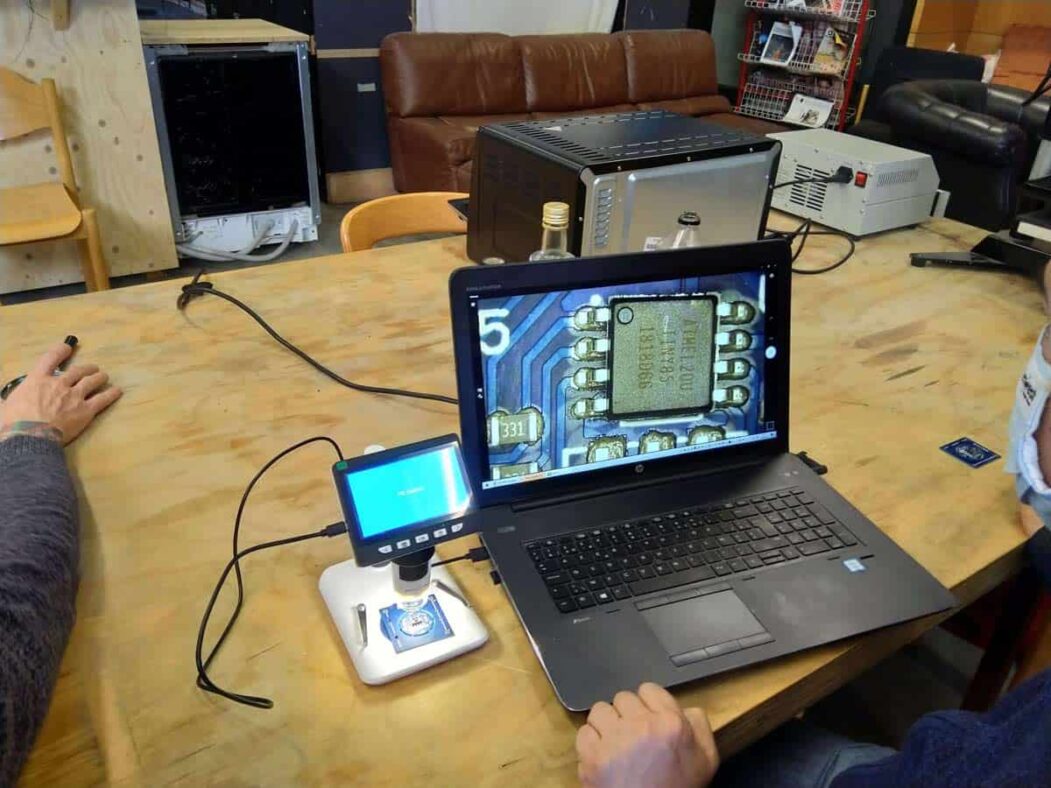
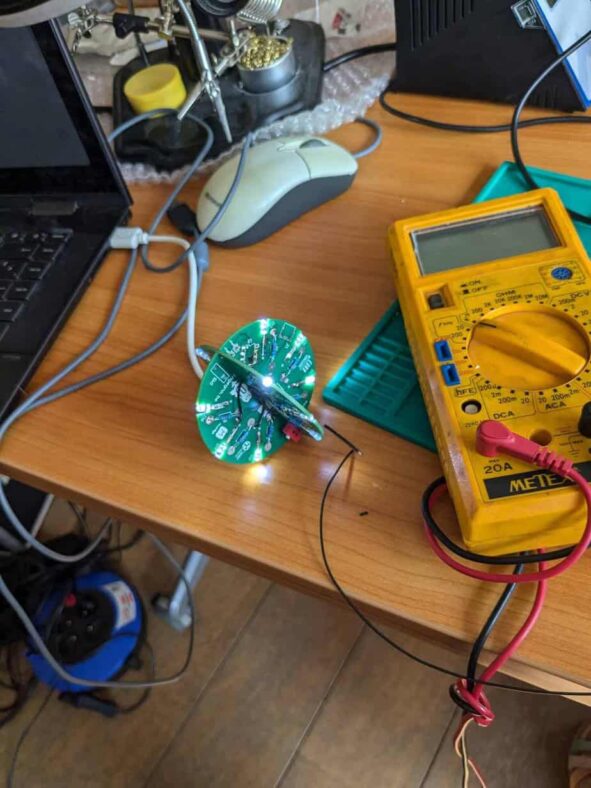
When you start with LED-up KidZ, you place components on a PCB using a magnifying glass. A steady hand is a must! Everything is programmed for cool light effects, the chip is tested, and then literally baked in an oven. The final step is to solder the battery holder by hand and check it under a magnifying glass or microscope.


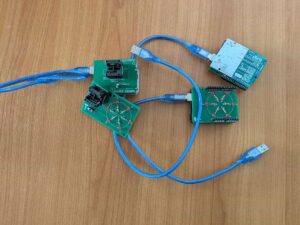
The setup we will use consists of:
- PCB
- Components
- Programmer to program the ATTINY414 via Arduino
For a smooth workflow during activities with young people, we also have:
- Prototype boards compatible with Arduino UNO to test programs before loading them onto the chip
- Tester for the chip once the program is loaded
- Prototype boards that work directly with the ATTINY chip
- Stencil holder for easy application of solder paste on the PCBs

Evolution from v00 to v03
In 2014, we started with the idea of developing a kit to introduce children and young people to the world of PCBs and microelectronics. Our first prototype was a homemade PCB.
After several iterations, we had a final version v01 using an ATTiny 85. This earring version v01 was extensively tested in numerous workshops, holiday camps, and STEM academies, to the great joy and enrichment of more than 2000 children. In 2018, we began developing version v02 to meet the programming needs of more driven young people.
Earring v02 offered user interaction via a push button while still running on a 3V coin cell battery and containing 6 LEDs. We retained the ATTiny 85 and worked with a shift register and multiplexing for additional functionalities. However, programming this version proved too difficult for our target user group.
Thanks to our collaboration with Herman, we developed version v03 based on an ATTINY414. With version v03, users can program and create interactions with the jewel via the push button or by reading data from an external sensor such as an LDR or temperature sensor.
Technical Description V03.1

The position of the slide switch in version v03 was inconvenient, and the eyelet for hanging the jewel was too fragile. Therefore, we made an adjusted version V03.1, our final version.
Specifications
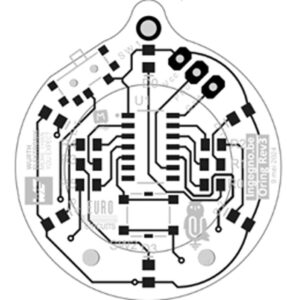
- On the back of the jewel, a battery clip is manually soldered, the only part that is hand-soldered.
- On the front, there are LEDs, the on/off switch, resistors, and the chip. The switch is connected to the battery and turns it on or off.
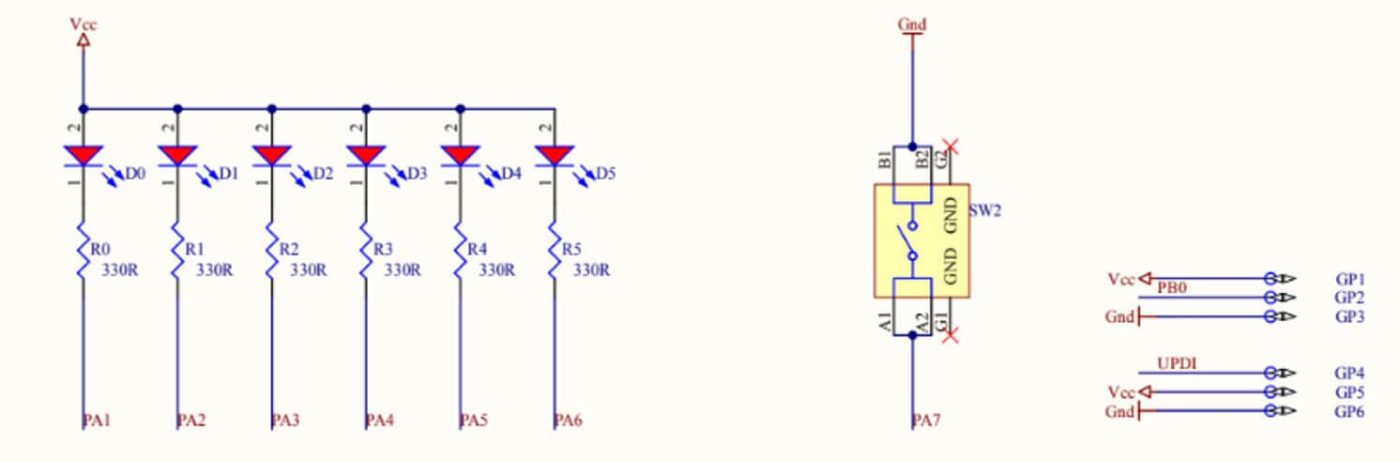
- The LEDs are on GPIO pins PA1, PA2, PA3, PA4, PA5, and PA6. In Arduino IDE, you set the GPIOs to output.
- Brightness control of the LEDs is via PWM.
- Resistors have a value of 330R, providing sufficient light output and limiting power consumption, thus extending the coin cell’s life.
- The push button makes contact when pressed and is connected to GPIO PA7. You set the GPIO as input with a pullup resistor to easily read the state of this line.
- The PCB is a standard two-layer board with 35µm copper, a standard layer set at Eurocircuits.

Design Considerations
- Positioning of components to facilitate manual soldering.
- Larger solder pads than normal to make component placement easier.
- Components are large enough to be clearly visible and manageable with tweezers.
- The distance between soldering islands is such that young makers (<15 years) experience less difficulty when soldering.
- Clear labeling of components on the top side of the PCB.
- Strong suspension system for use as a jewel.
The design is made in Altium Designer.
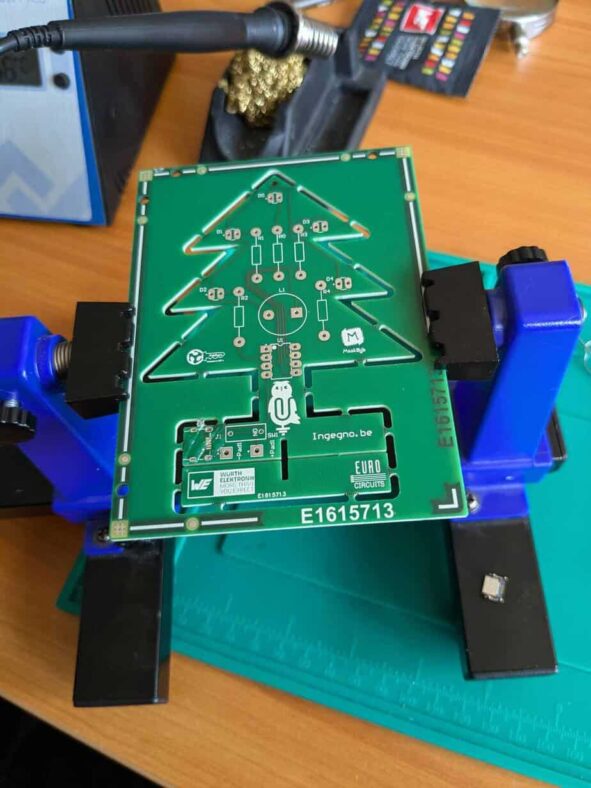
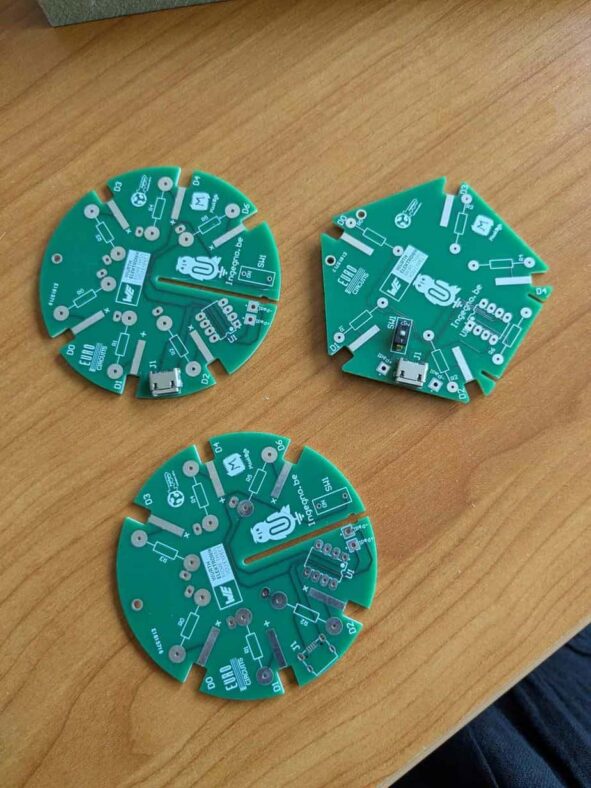
Sneak Preview
We are pleased to announce a sneak preview of our Christmas collection soldering kits: the Christmas tree and Christmas ball! Exclusively for MaakBib members. In the next blog, we will provide insight into the circuits and their operation. Don’t miss it!
These new soldering kits can, as usual, be programmed in the Arduino IDE.
We rely on the support of Würth Elektronik to provide components at a reduced rate so we can continue offering exciting inclusive activities.
For more information please visit the Ingegno Maker Space website.
Be the first to read all about our news and information. Follow us on